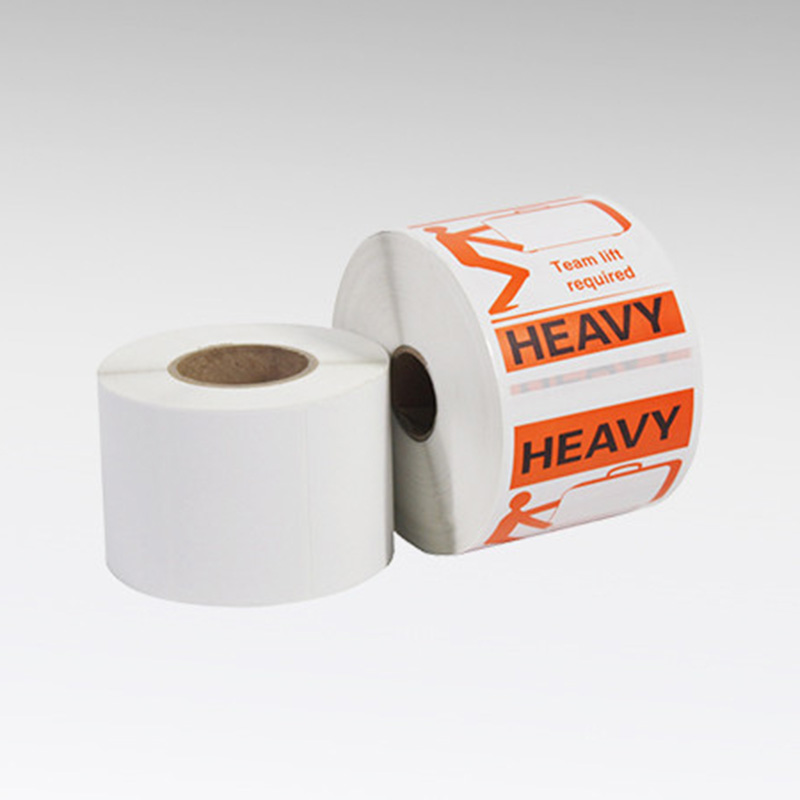
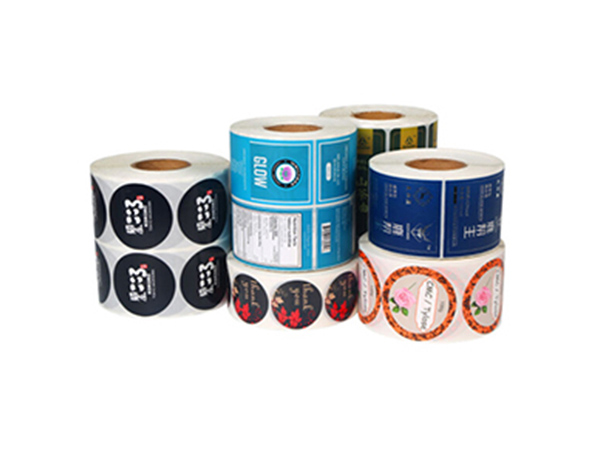
Adhesive label is a very common material in our daily life. It has been applied to almost all walks of life. So many people are interested in the design of adhesive label. If you want to know how the adhesive label is made, let’s briefly introduce how a adhesive label is designed.
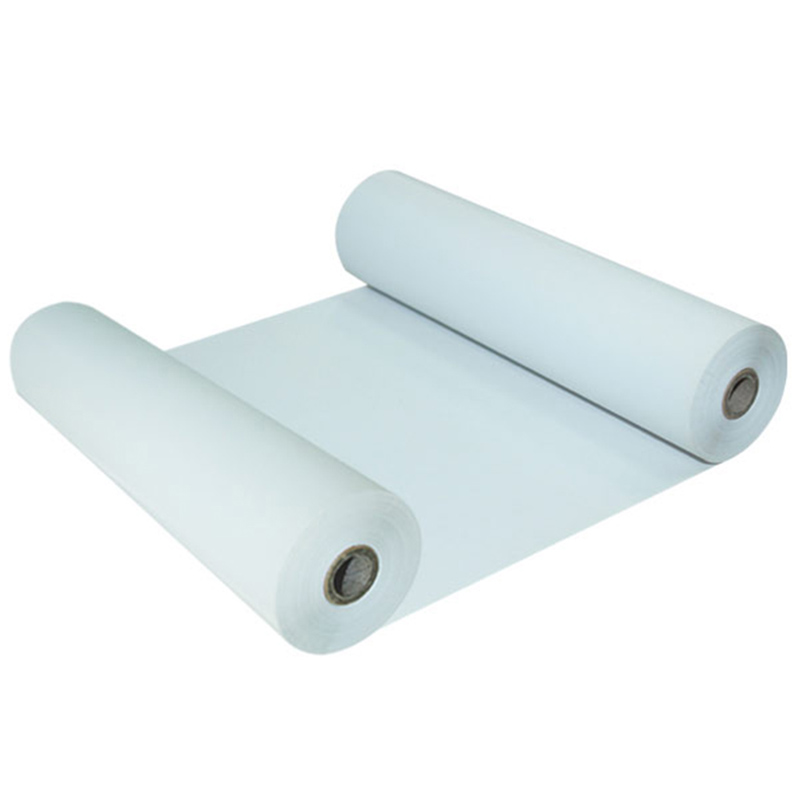
Most label manufacturers are processors. First of all, label processors need to go to some well-known brand manufacturers. Here we recommend Suzhou Guanhua Paper Products Factory. Generally, one roll is 1000 meters, 2000 meters, 400 meters, 800 meters. The specification size is the size that the label processor requires the label material supplier to cut into its own size in advance. The label processor can ask the label material supplier to divide the label paper into 150 mm * 1000 m, 145 mm * 2000 m, 86 mm * 400 m and other specifications, which are all acceptable. Then put it on the automatic die-cutting machine for die-cutting. There are two kinds of automatic die-cutting machines used by the self-adhesive label label processing factory, namely, circular and flat die-cutting machines. The former article mentioned that there is a slitting machine, but now it will save this link. Because of the waste of time, the width of the current die-cutting machine can be controlled within 300MM, basically there are die-cutting machines. The reduction of process is also to speed up, reduce consumption and reduce the unit price of products.
The following is the design process of self-adhesive label:
Make main document
Step 1: Measure the size of the actual adhesive label paper with a millimeter ruler. Here, take A4 as an example: width 210 mm * length 29.7 mm. Record the number of rows and columns of the label. There are 7 rows and 3 columns as shown in the figure below.
Create a new Word document and set the size of its page to be the same as that of the sticker label. You don’t need to set it here, that is, use the default A4 paper size.
Step 2: Click Mail tab – Start Mail Merge group – Start Mail Merge – Label. In the pop-up [Label Options] dialog box, select [A4 (vertical)] in the [Product No.] list box, and click [New Label] to open the [Label Details Dialog Box].
Step 3: In this dialog box, first enter the values of [Number of Label Columns] and [Number of Label Rows], and then enter the corresponding values in other text boxes (the specific dimensions are subject to the actual measurement of the millimeter ruler), click [OK] to return to the [Label Options] dialog box, and then click [OK].
Step 4: Generate main document
Start Mail Merge
Step 1: Select a data source. Click the Mail tab – Start Mail Merge group – Select Recipient – Use Existing List command to open the Select Data Source dialog box, select a data source file, and click Open.
Step 2: Position the cursor in the first cell of the main document, click Insert Merge Field, select the required “field” in the pop-up Insert Merge Field dialog box, click Insert, and then click Close to close the Insert Merge Field dialog box.
Step 3: Click Update Label.
Step 4: Click Finish Merge, select Edit Single Document in the pop-up menu, select or set the range to merge in the pop-up Merge to New Document dialog box, and click OK to save this document.
Step 5: Send the adhesive label to the printer for printing.
The above is all about [self-adhesive label design]. For more information, please go to http://www.inbetter.com/
Copyright © Suzhou Guanhua Paper Factory All rights reserved.